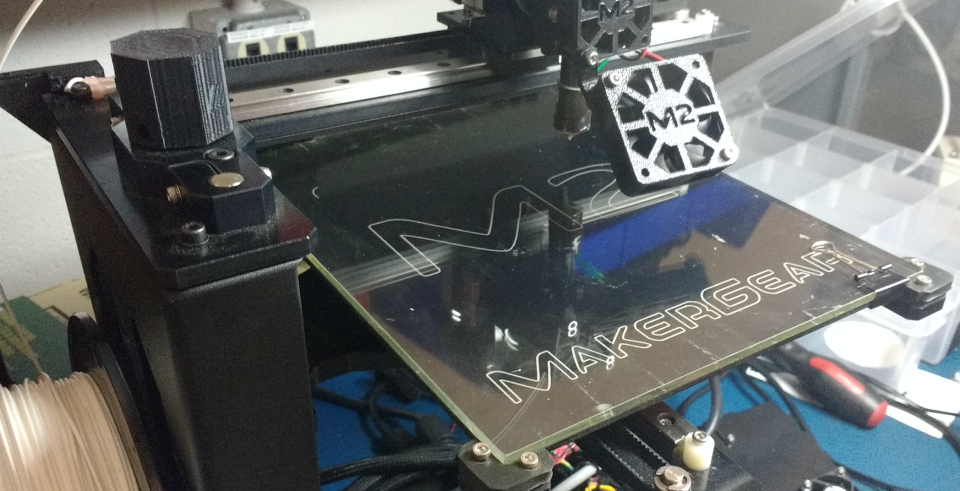
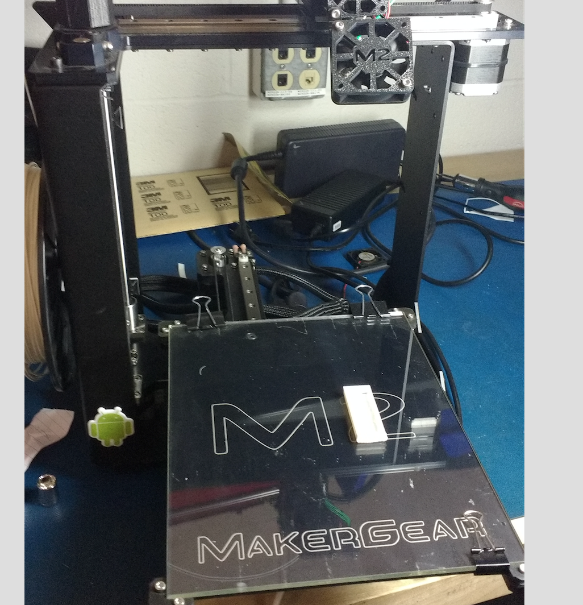
After power up and initialization, the user will find the 4DOF printer in its ‘idle’ state. The heaters will be off and the motor axes will be disabled making it possible to manually re position the build platform by hand.
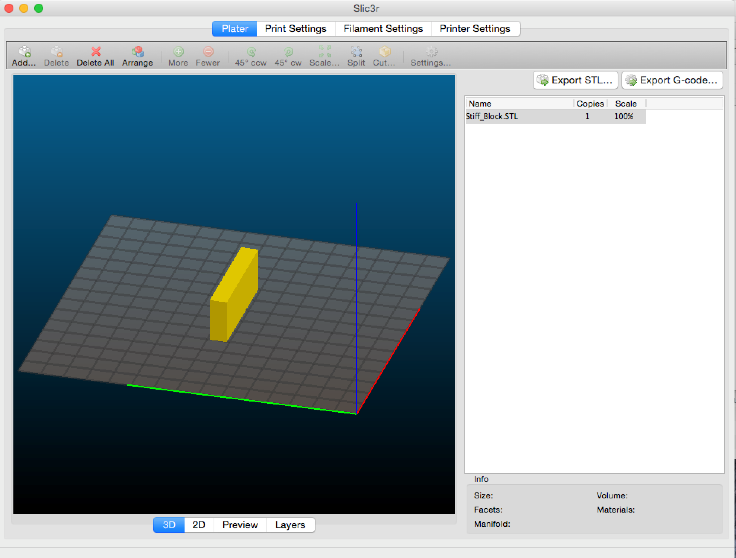
As with traditional 3D printers, the user will use a slicer application [1] to decompose a 3D files into layers and generate a G-Code file which can be sent to the printer. The only difference is that the user will also select insertion layers for the print to pause at and COTS items to be added.
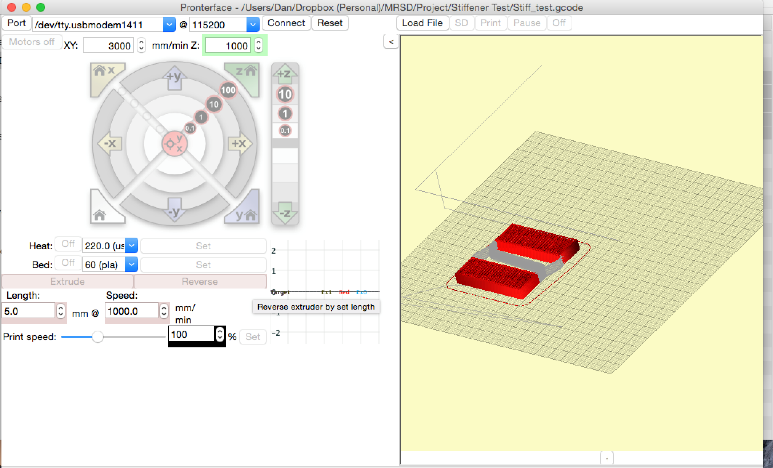
After using the slicer program to generate the G-Code file, the file will be opened in a printer interface software from which the printer can be controlled and instructed to print the file.
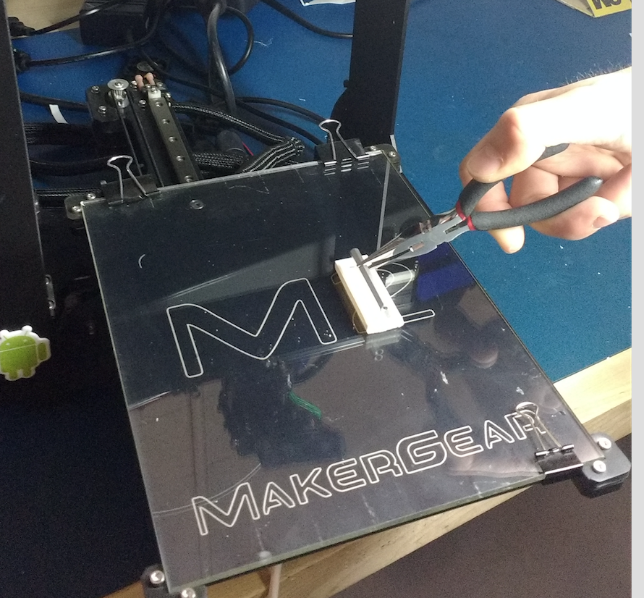
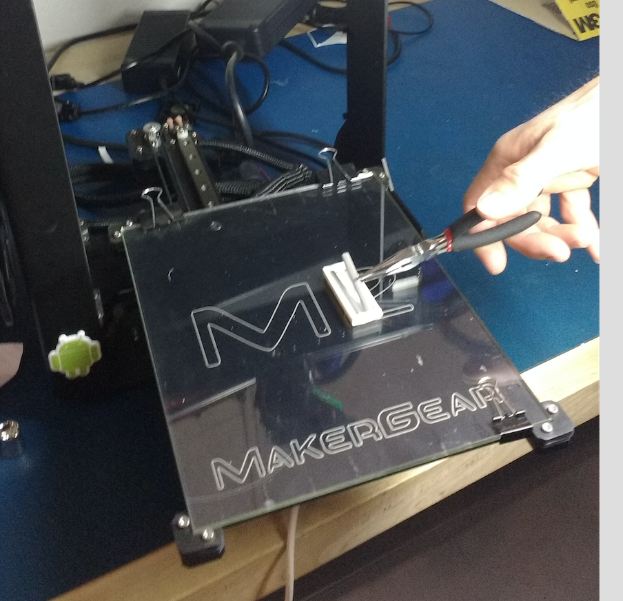
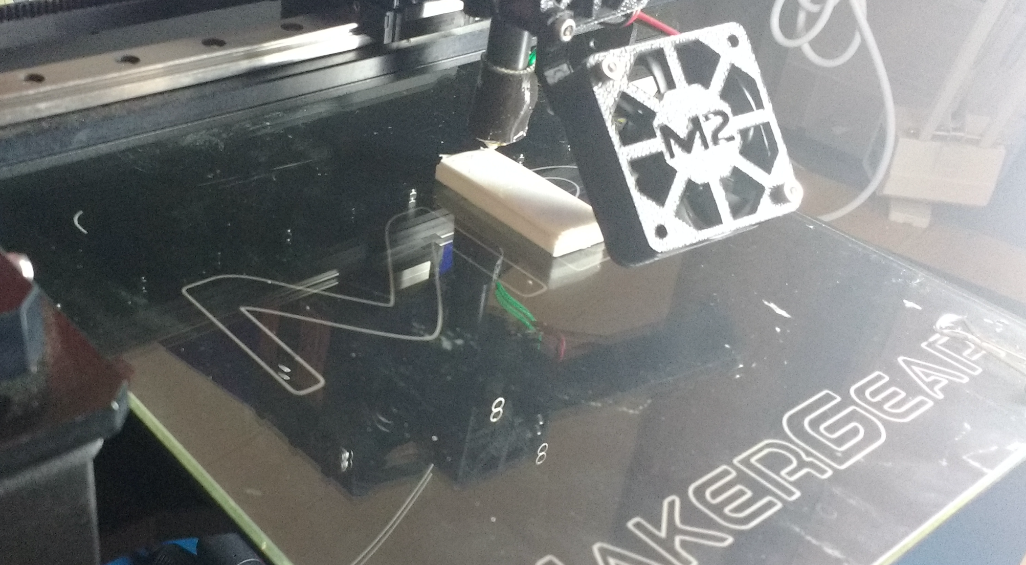
After homing the printer and verifying it is correctly operating, the user instructs the printer to begin printing. The printer prints the part up until the selected print layer. Upon reaching the selected insertion layer, the printer pauses and moves the part to the ‘insertion configuration’ to allow a user easily access the print bed and to install the COTS items. At this point the user would then manually install the COTS items.
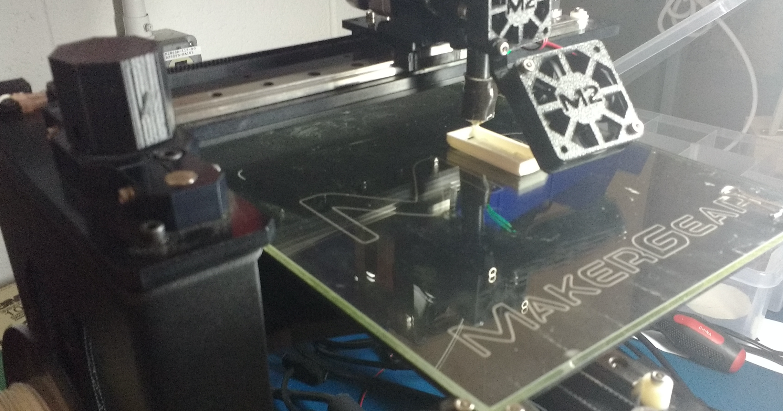
awaiting COTS item installation
After installing the COTS items, the user instructs the printer to continue printing via the LCD interface.

The printer resumes the print and begins to enclose the COTS items
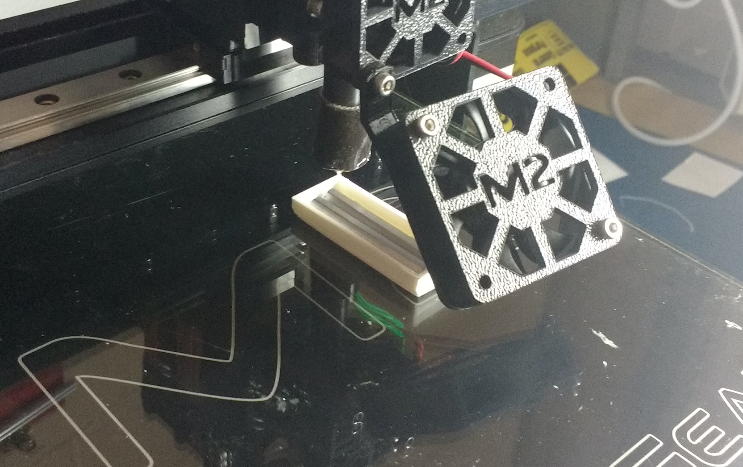
added COTS stiffeners
The printer continues printing until the part is fully enclosed. It then cools down and returns to its idle position so the user can extract the finished part.