In the first stage, we planned to create a quick framework to test each subsystem. In calibration target part, we choose using the 3D printer to make a prototype (Fig 1).
In the processing of design, we choose 3D target because we could get the multi-face checkerboard information at a single image, and if the faces’ geometric relationships were known, we can use that information to do camera calibration.
The reason why choosing this shape rather than cubic shape was because of the accuracy. When using checkerboard to calibrate camera, the angle of the normal of the checkerboard and the camera should be limited in certain angle (i.e. 60 degrees) to reduce the distortion by the lens. We could take that the 3D target would be the assembling of multi 2D checkerboards, Therefore, the angle between the face wouldn’t be too large to reduce the distortion. The icosahedron shape has 20 faces which could get a better image than cubic shape(90 degrees).
For deciding the size of the target, we want our target can fill the image so that our calibration can cover the whole image. Because our future application was doing human face reconstruction, our camera’s image field of view was almost as same as the human’s face.
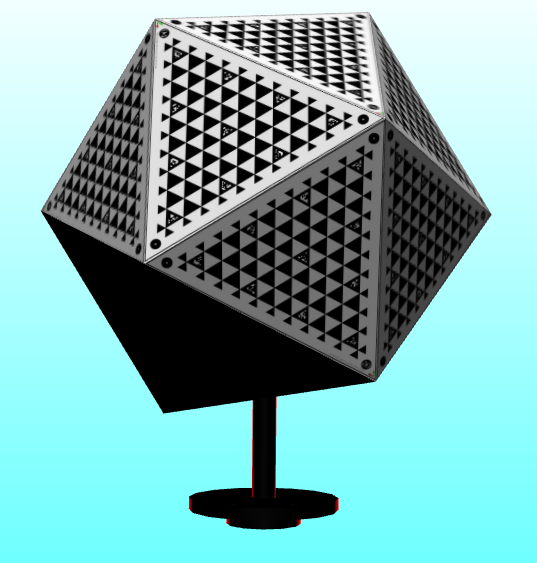
Fig.1 Design and fabricate the calibration target