We use the RobotStudio® to simulation the movement of the robot.
The simulation can divide in three part
1. Environment model generation 2. robot movement control 3. trigger signal generation.
https://www.youtube.com/watch?v=ZMTiOUySDgM
- Environment model
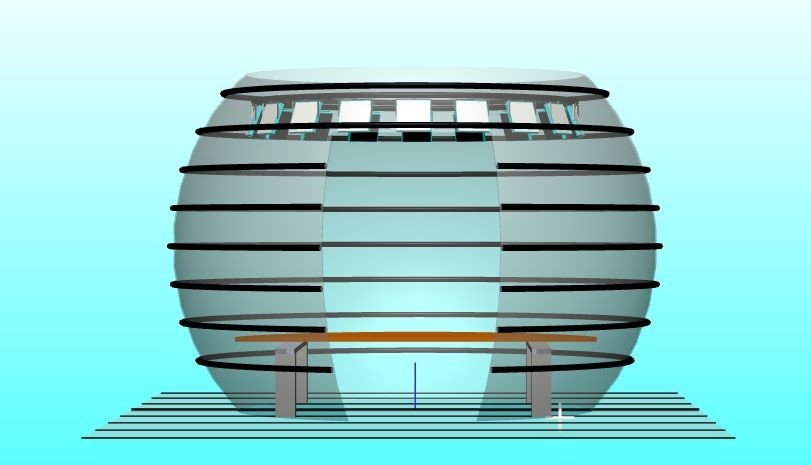
In the environment modeling, we use Solidworks to generate the basic model which has basic environment setting including the Dome, floor, and light because that are the things that were fixed in the dome and stayed inside the dome when calibration was conducting.
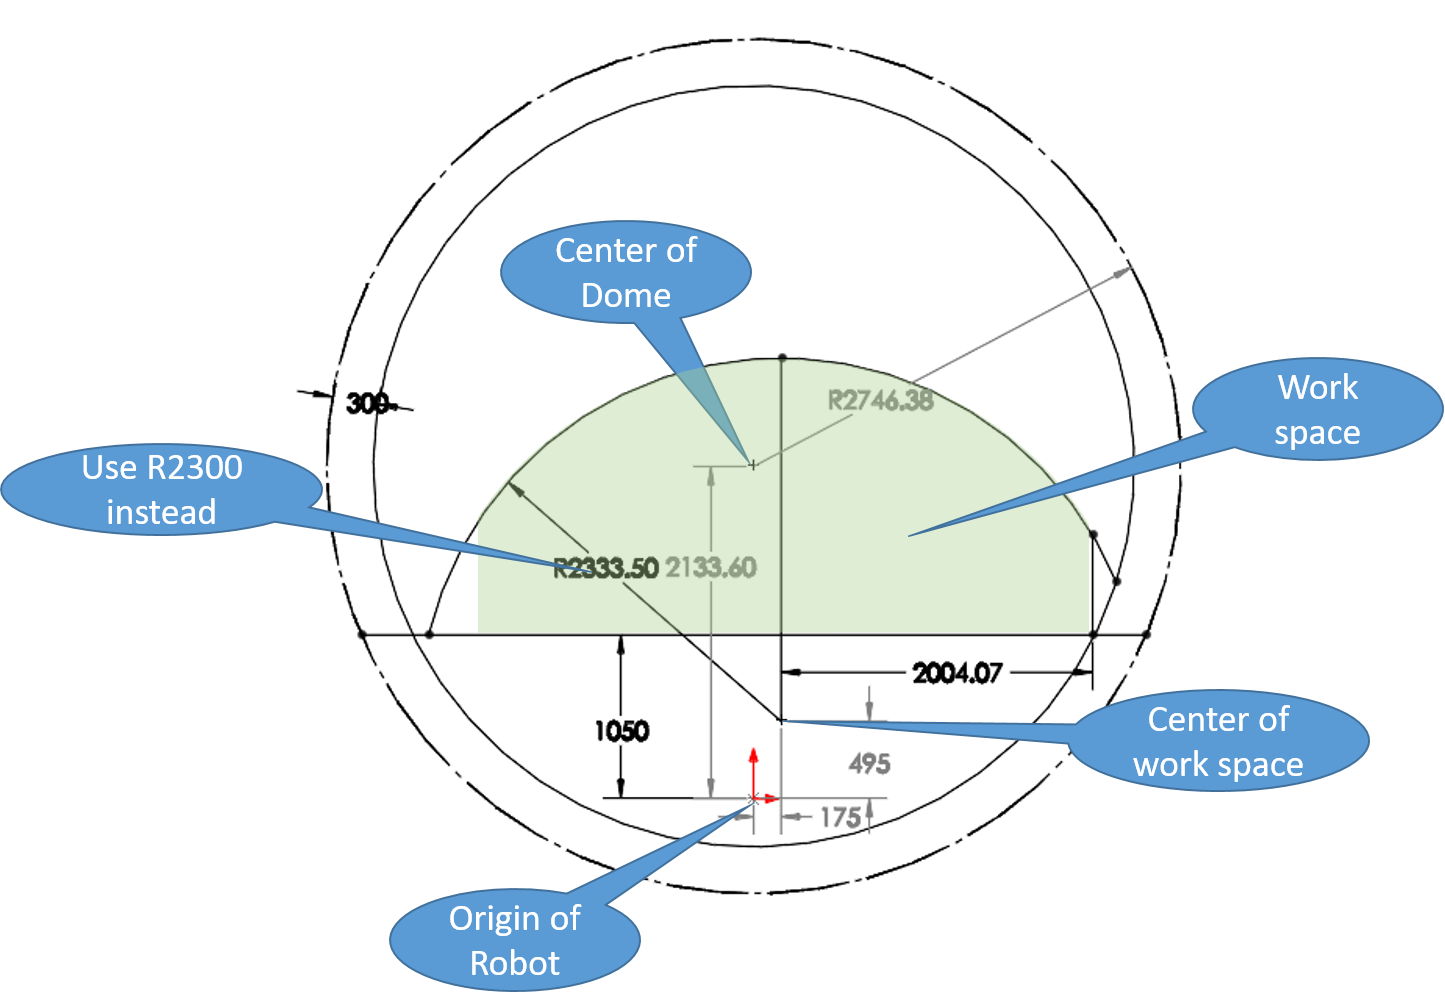
We used the robot work range and the environment dimension to decide the safe work space.(safe distance = 30cm)
2.robot movement control
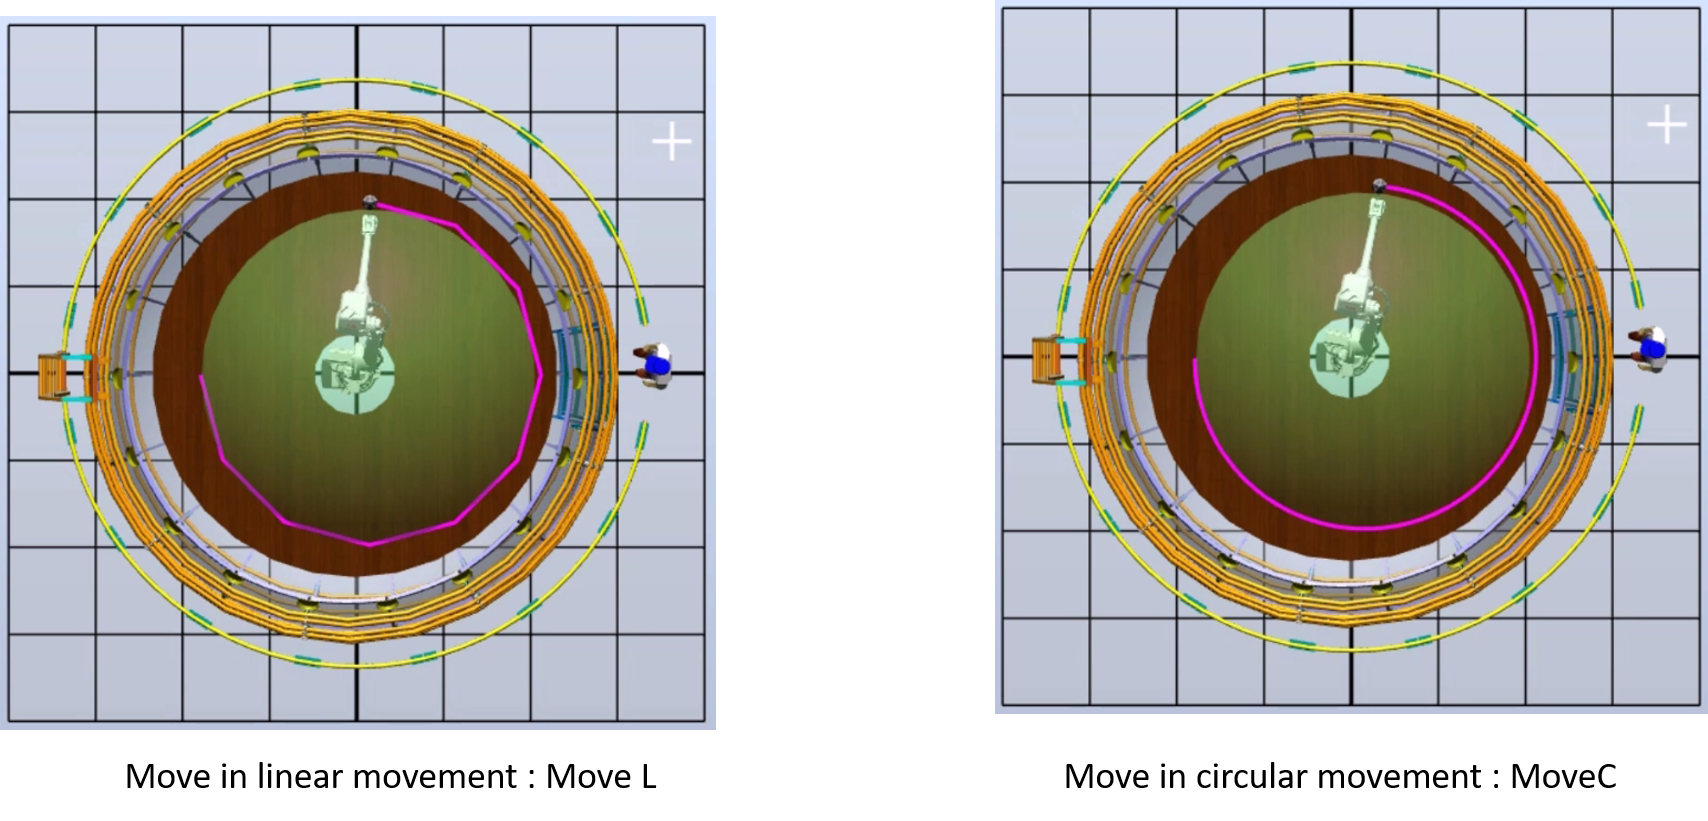
There were three types of movement in the RobotStudio, which were moveL,moveC, moveJ. We used the moveJ mode to control the robot arm, which would adjust the robot’s joint configuration to reach the target position and orientation.
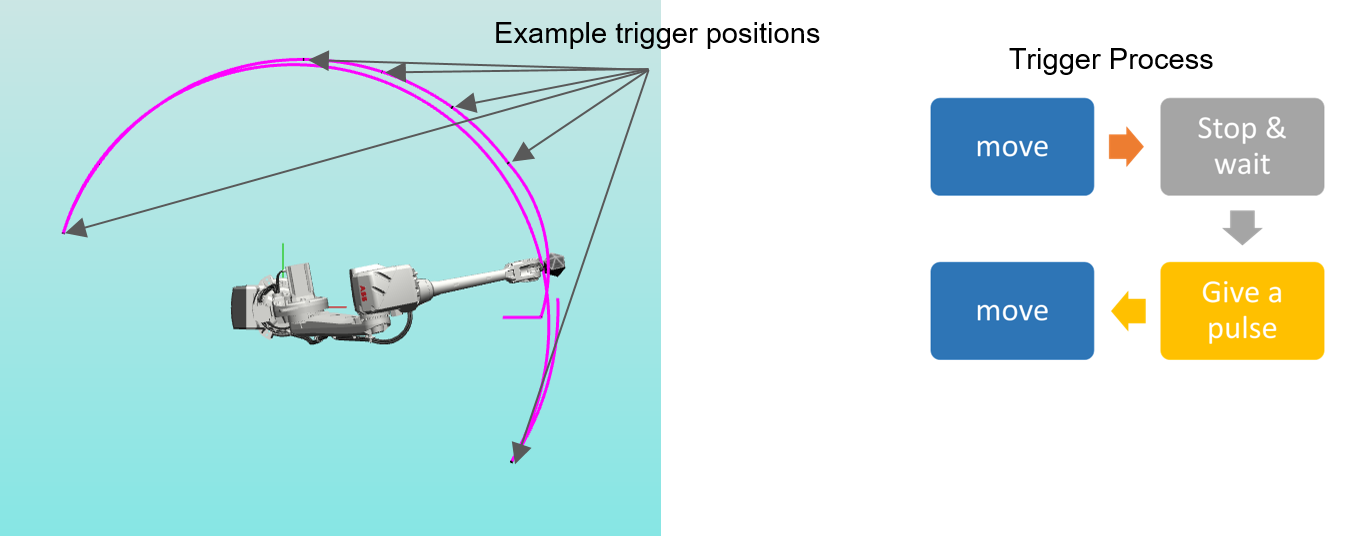
 3. Trigger signal
We used the ABB robot controller’s output signal generator to generate the signal.
In the basic process, we will move the robot to the target position, and then stop and generate the pulse signal and after the signal has been generated, the robot would start moving.
To do this stop-and-go is because we want to reduce the motion blur when capturing the images which would influence the accuracy of camera calibration.
Collision check
The programming work space was basing on the assumption that the dome was a sphere, but the floor and some extra part like a camera were not been considered in that assumption. Therefore the collision checking still needed to apply. It allowed us to add the extra parts in the environment and didn’t have to change the original path design flow if there is no collision. The threshold of the near object and it would indicate the close part by changing the color to yellow. If the collision was detected, the color in both connected parts would change to red to warn the users. In our final implementation, we allowed some robot motion to get closer than the threshold but didn’t hit to make the robot path more smooth.
https://www.youtube.com/watch?v=wzUXOhvVvsQ&feature=youtu.be
